
Creating Client Scripts
Import
·
Jan 31, 2023
·
article
The procedure for adding files to an application in Studio is the same regardless of file type:
- Click the Create Application File link.
- Choose the new file type, in this case, Client Script.
- Configure the new file.
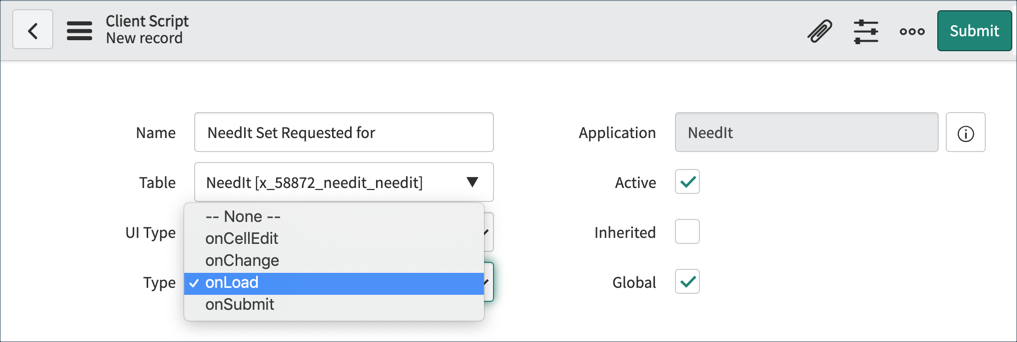
As with any script, the configuration tells the script when to execute. The Client Script configuration options are:
- Name: Name of Client Script. Use a standard naming scheme to identify custom scripts.
- Table: Table to which the script applies.
- UI Type: Select whether the script executes for Desktop and Tablet or Mobile/Service Portal or All.
- Type: Select when the script runs: onChange, onLoad, or onSubmit.
- Field Name: Used only if the script responds to a field value change (onChange); name of the field to which the script applies.
- Active: Controls whether the script is enabled. Inactive scripts do not execute.
- Inherited: If selected, this script applies to the specified table and all tables that inherit from it. For example, a client script on the Task table will also apply to the Change, Incident, Problem and all other tables which extend Task.
- Global: If Global is selected the script applies to all Views. If the Global field is not selected you must specify the View.
- View: Specifies the View to which the script applies. The View field is visible when Global is not selected. A script can only act on fields that are part of the selected form View. If the View field is blank the script applies to the Default view.
The Field name field is available for onChange Client Scripts. The View field is available when the Global option is not selected.
DEVELOPER TIP: Whenever client-side logic is modified, reload the main ServiceNow browser window to ensure the latest logic is loaded.
View original source
https://medium.com/@LearnITbyPrashant/creating-client-scripts-7bd797b15c61?source=rss-d005fc598f0a------2